By Ken Hemmelgarn
During the repair of the front truck of a locomotive, I needed to replace the stretcher material between the side frames. I chose to use hot-rolled steel, 3/4” thick.
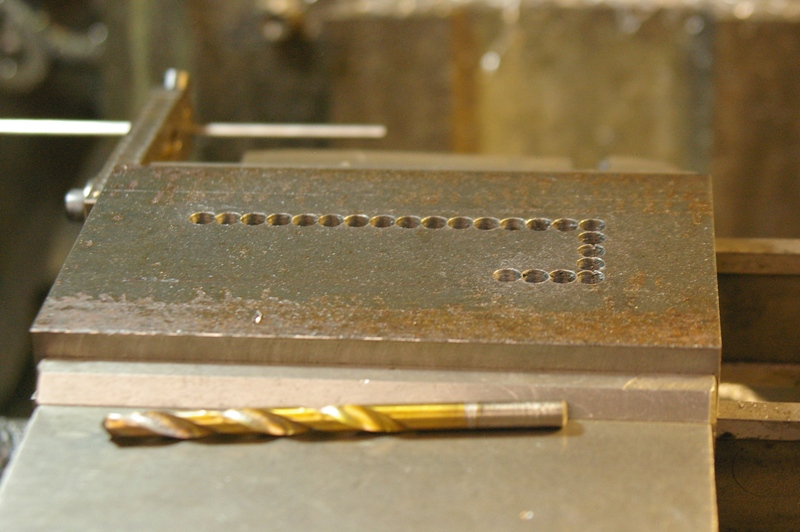
A large, central cutout exists in the piece and measures 1-1/2” x 4-1/4”. I realized that milling this entirely would be very time consuming, so I chose to chain drill.
Since this cutout is symmetrical in the workpiece, I started from the part’s 0,0 corner and offset to the final cutout corner and reset 0,0 on my dials. I also adjusted to leave finish stock on the walls of the cutout. 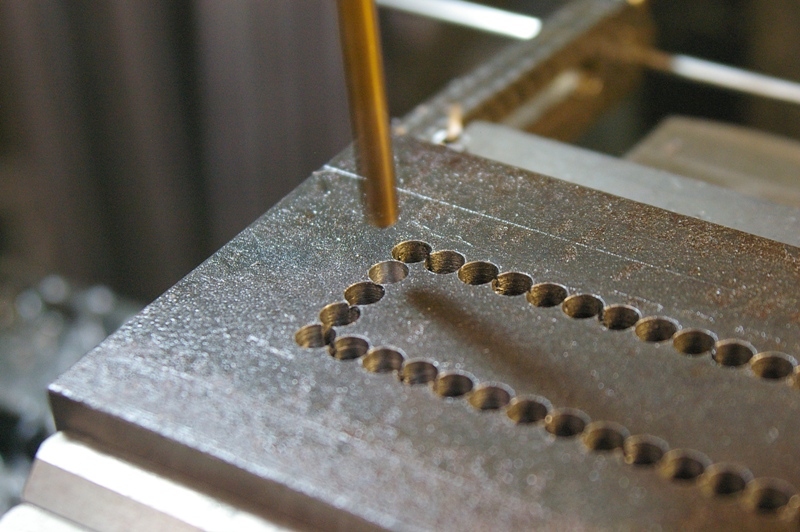 I calculated the number of steps needed to index the 1/4” drill bit and chose .260” as my step distance. The length of the pocket in the X direction, 4.250”, divided by .260” gives 16.346”. That means that I will index 16 times with .346” x .260”, or .090”, left over. I divided this in two and added it to the .125” radius of the drill and moved from 0,0 to .170” for the first hole.
Similarly, I divided the 1.500” by .260”, which equaled 5.769 indexes. Subtracting the whole number = .769, multiplying by .260 = .200”, and dividing by two and adding .125” = .225”. I offset from 0,0 to .225” and found my chain drilling starting point for the Y direction.
I now have my chain drill pattern centered in the 1-1/2” x 4-1/4” final cutout. Indexing around the waste and returning to the staring hole by resetting the zero on the dial and moving the table .260” to drill the next hole is called “Stepping”. The accuracy of your work is confirmed when the last hole is drilled and your spacing is not overlapped or too far away from the wall of the starting hole.
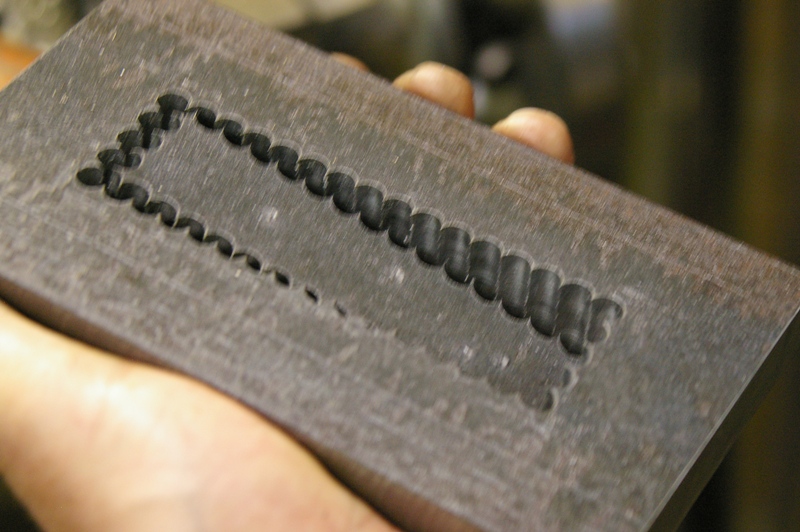
Final removal of the waste can be effected by holding the workpiece in your hand and using a hammer to lightly tap the waste until it fallsout of the new hole.
Thanks, Ken, your subscription has been extended by an issue!